


Holding it all together
Silicone merges the craft and art of paper tole works

“Perfection isn’t really the goal. For me, it is all about the act of making,” writes Globe and Mail columnist Jana G. Pruden in a newsletter announcing a new feature in the paper called the Globe Craft Club.
I read that quote to Maggie this morning (knowing full well she wouldn’t feel the same way).
She shook her head.
“For me, I like it to be perfect,” Maggie says. “If I see a mistake, even if I know someone else might not notice it, I have to fix it. Some people are perfectionists, some are not . . .”
Maggie clearly is a perfectionist.
“I want to take pride in my finished piece,” she says. “I don’t want to look at it and see flaws.”
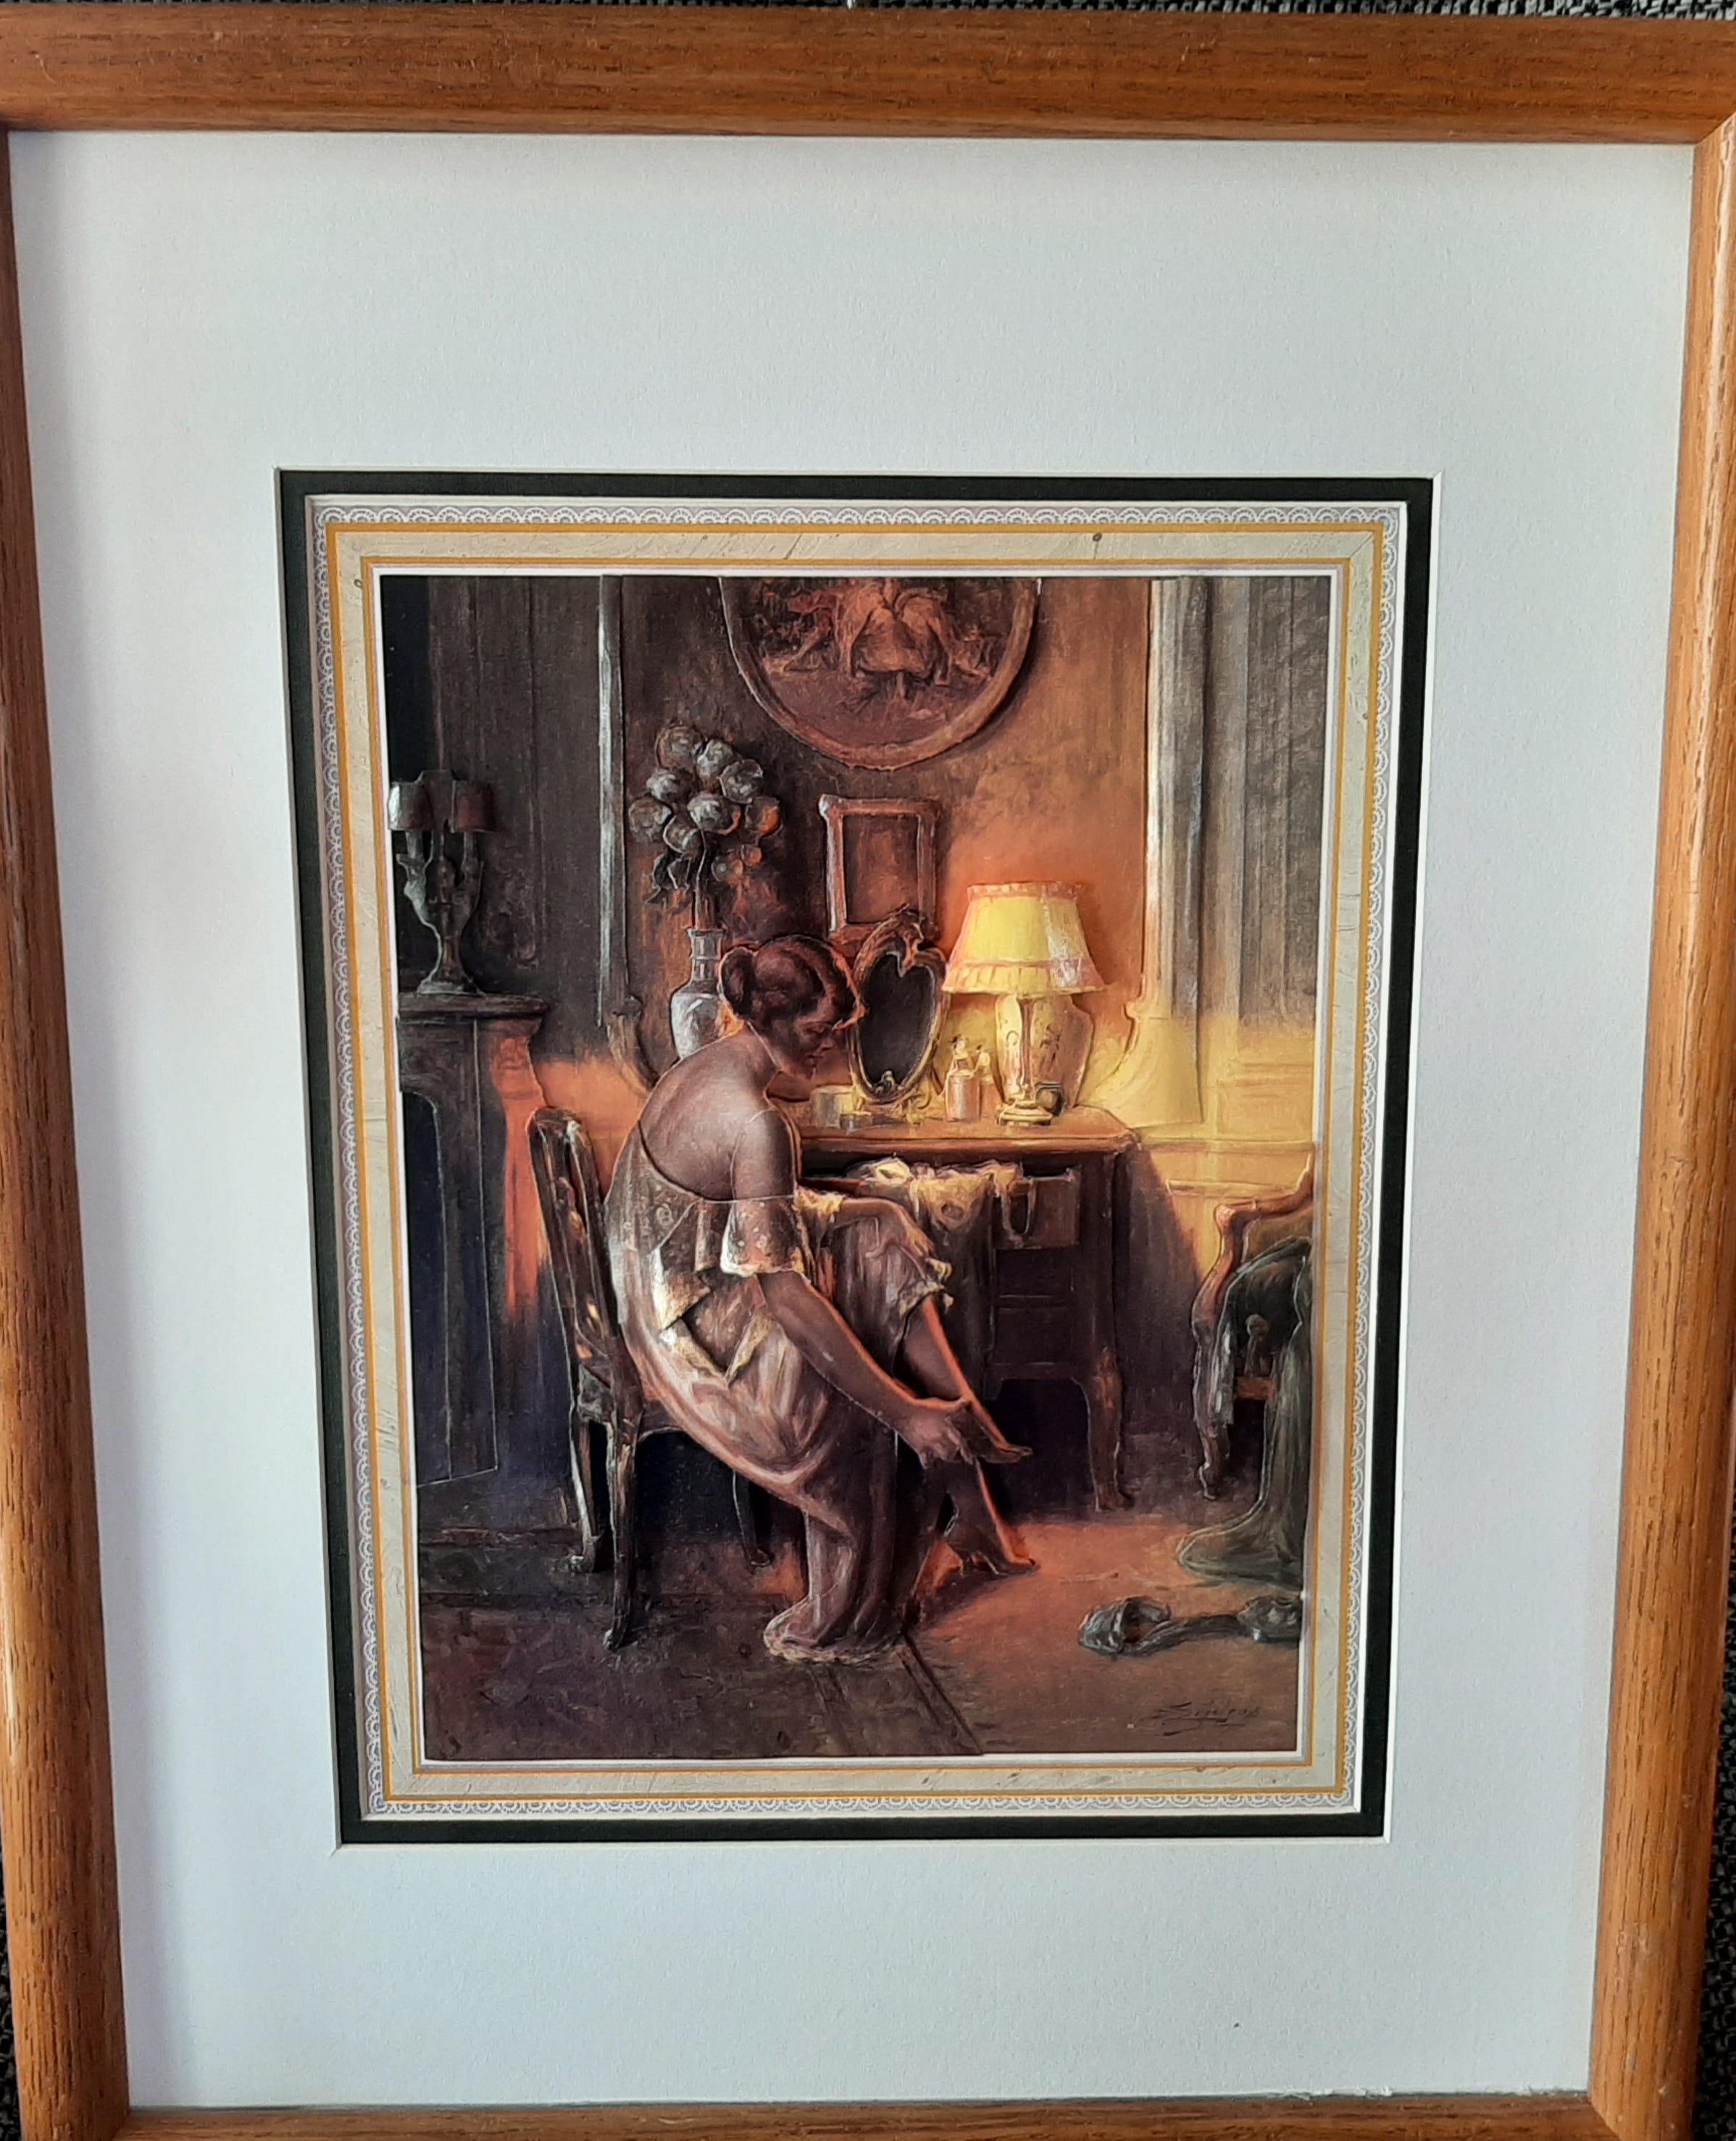
For Maggie’s paper tole works, there are several techniques that contribute to her masterpieces (my word, not hers). We’ve mentioned a few times in previous posts the importance of shaping individual elements in a work, and I plan to do a full post devoted to that technique another time.
Today, though, I want to talk about silicone, which is equally important to the finished work, if not more important.
Drops of clear silicone — which you can buy in the hardware store — are used to separate the layers in paper tole art, raising it to the 3-D level.
Why silicone?
“It dries hard — rubbery — in about 20 minutes and it doesn’t flatten afterward.”
So you have enough time to place the piece of paper on the silicone drop and press it down for the desired spacing between layers.
How much to use?
“It depends on the size of the piece you’re putting on,” Maggie says, and its depth in relation to the other elements in the image. “A small piece may require very little silicone — just a tiny drop.”
There was some trial and error involved when she first started doing paper tole works, Maggie says. She suggests newbies try applying silicone drops on scraps of paper to get a feel for the technique.
How do you know how much space to leave between layers and, hence, how deep your silicone drop should be?
“You have to use your own judgment,” Maggie says. “It depends on the particular elements in the images.”
For example, you wouldn’t use a big drop of silicone between a bicycle seat and the bum sitting on it (see Boulangerie project in previous post). That would call for a small silicone drop. But other elements in the work will need bigger drops to make them stand out more.
“It’s another reason why shaping pieces is so important,” Maggie points out. Aside from making the 3-D artwork more realistic, curving or shaping the pieces “helps to hide the silicone drops.”
If you apply too much silicone, there is also the risk of it oozing out from the sides of the piece when you try to correct the spacing by pressing it down.
Maggie suggests using a syringe filled with silicone rather than applying it directly from the tube.
When we look at finished paper tole works, the idea that silicone is holding it all together may never cross our minds. But it is the lifeblood of each work, apart from the inspired spirit who delights in the craft — and, in Maggie’s case, perfecting it.
P.S. Maggie is almost finished her Boulangerie project, so I’ll hold off on posting about it for now.
Superbly detailed explanation of an insanely detailed technique.
Maggie has a teachers attitude and tons of patience.
I lean toward “focus on the process” rather than “focus on the detail” side. I can really respect and do admire the patience and detail.
What plans are you working on to Maggie’s pieces on display for us??? (Someday!)
Ron