

A week later

Seven hours and 45 minutes.
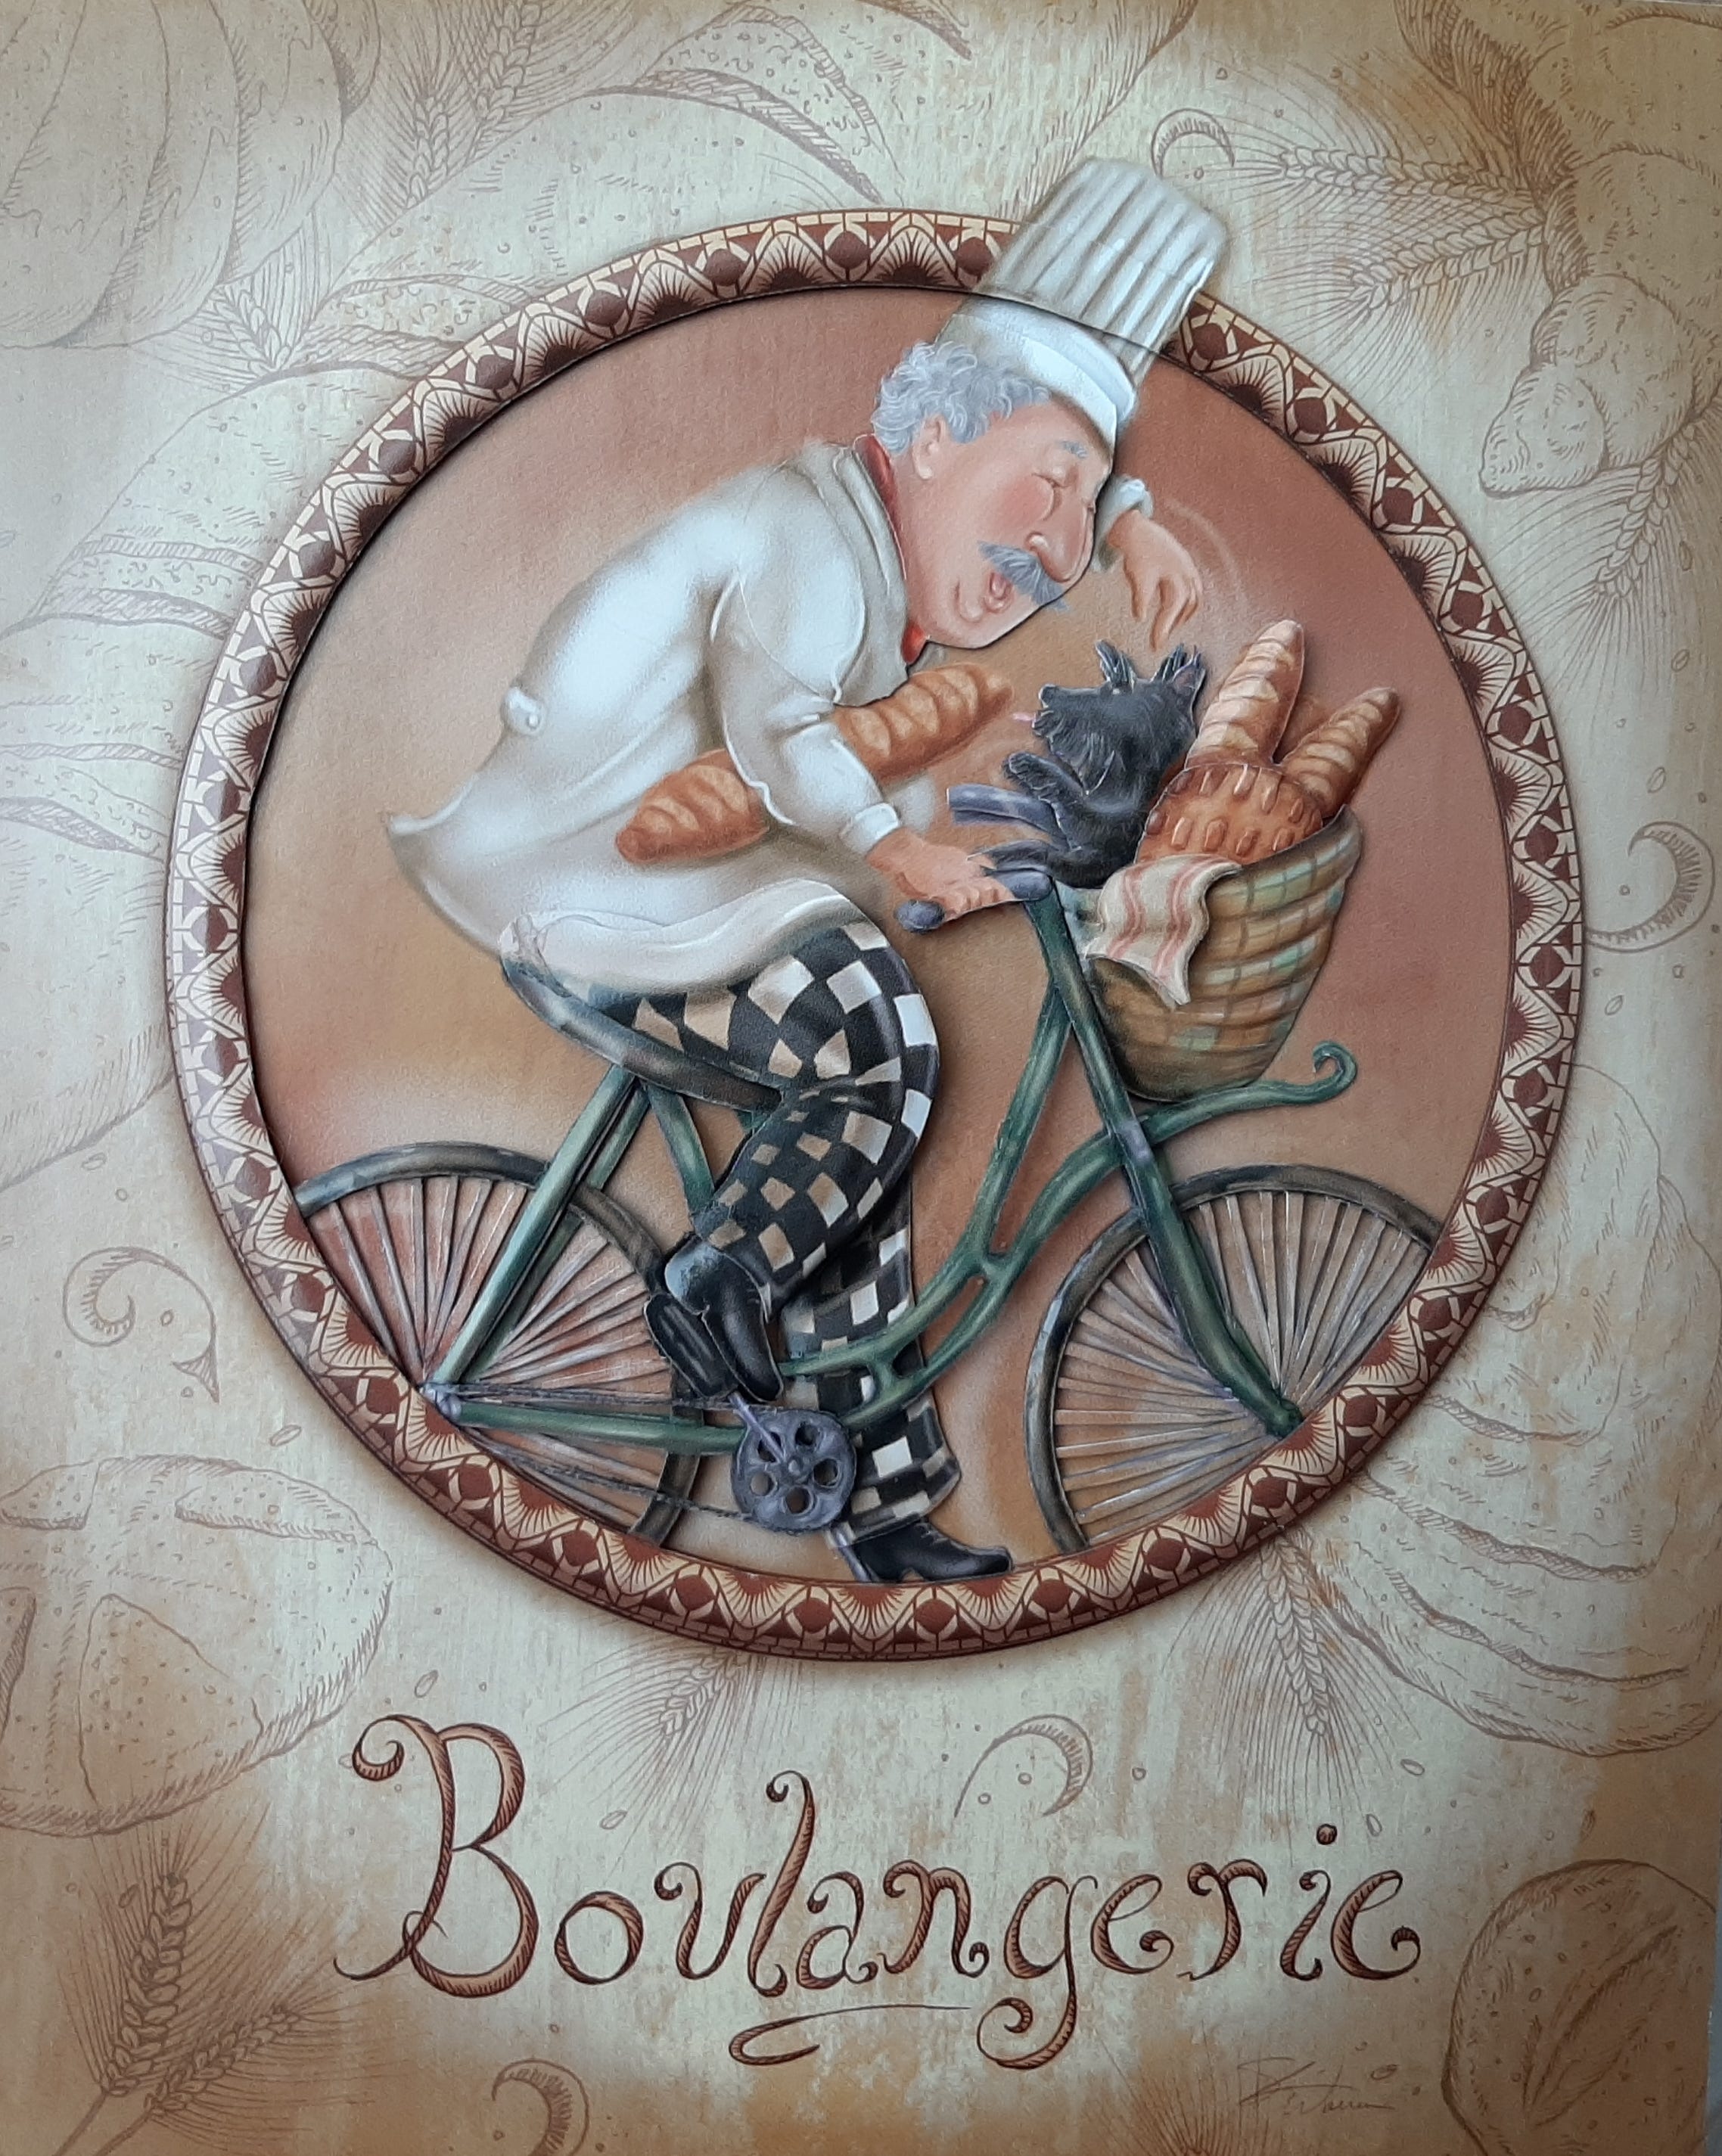
That’s how much time Maggie devoted to the Boulangerie project in the past week.
She started by attaching the base print to a canvas board, which is rigid, thick and firm. But you can also use thick cardboard for the base, Maggie says.
Once the base print was attached, she started working on the image’s background.
That’s pretty much standard procedure, Maggie says.
“I work from background to foreground in most cases, doing the inner parts before the outer parts. I’m building it in layers. For example, the baker has pants and a smock on. The pants are built up first (on the right leg later) because they go under the smock.”
But there are exceptions. She will build up the baker’s left hand later, but made sure to leave enough space behind his head so she can slip the hand piece behind it.
Maggie was eager to work on the bicycle, tackling the inside rear part of the bicycle frame as well as the wheels next, cutting out each spoke individually.
“That was my own touch,” she explains. “The instructions that came with the kit didn’t call for it. But cutting the spokes individually makes it appear more lifelike.”
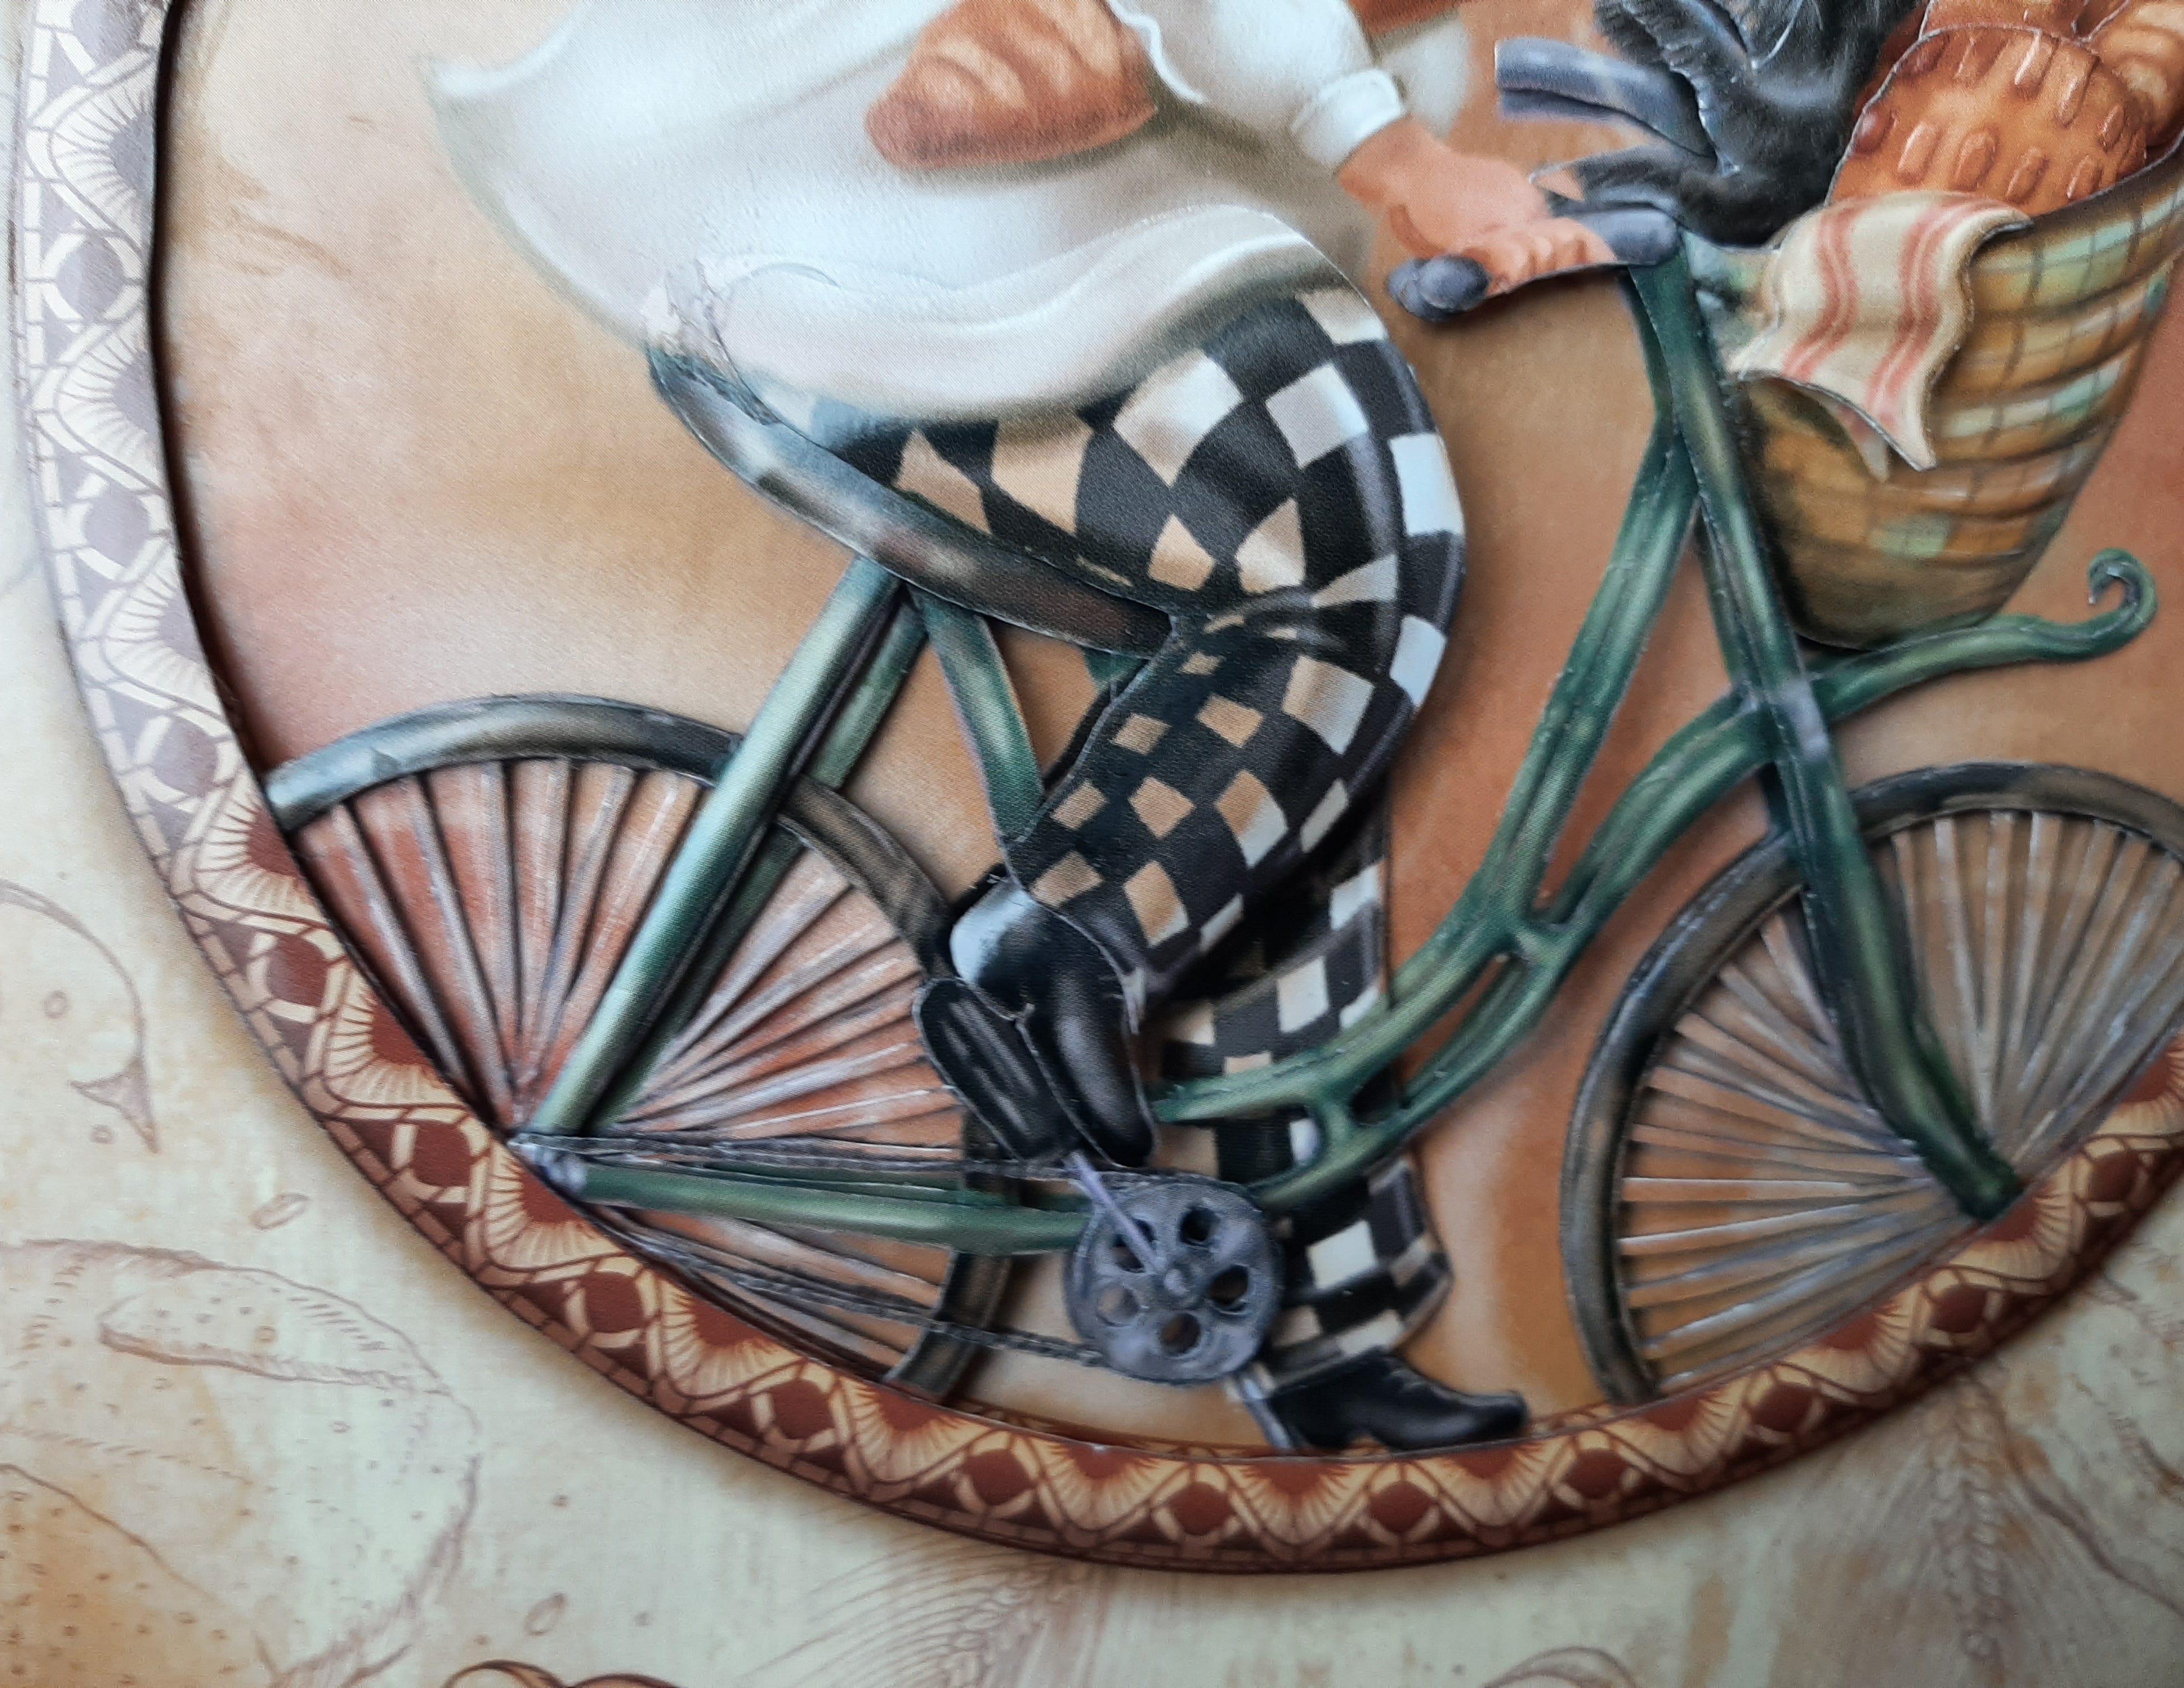
The tires and spokes were all cut individually. In total, she used three layers to produce a realistic 3-D effect for them.
After that, she created the baker’s left leg, using two layers.
“You use more layers on the foreground than the background,” Maggie explains.
Next up: the bicycle frame along with the bicycle chain.
“It’s all done in bits,” Maggie says, “so some parts of the frame have more layers than others.”
The minimum is two — but Maggie confesses to not always counting. She uses what’s needed to produce the 3-D effect she is striving for.
Next: one layer for the circular frame, but Maggie says she may add to that later with various touches.
Next, the dog, bread, basket and towel. Maggie gets a little frustrated when I ask her how many layers she used for each because she didn’t make a note of them (and is not enthusiastic about counting them). She emphasizes again that it’s a bits and pieces craft. The dog, for example, used two layers, but its paw used three.
On to the bicycle seat and the baker’s right leg and foot, making sure to keep a piece of the smock covering the upper part of his leg.
“That joint will be covered by the broader smock later,” she explains.
Then she moved on to the head and shoulder — which is still a work in progress, she says. She will do detail work on his hair and his moustache later, and perhaps more.
“It comes to me when I am doing it,” she says about adding her personal touches.
But creating the shoulder at this stage was a must because, as is the case with the leg, the broader smock will cover the joint there as well.
It’s a little difficult to explain the intricacies of a project like this because of all the bits and pieces. This is one of her simpler projects, Maggie says. She has done others with far more bits and pieces.
She estimates she is about halfway through this one because she is adding her personal touches. If she simply followed the instructions that came with the kit, she would be about three-quarters of the way through, she says. But it wouldn’t have the full 3-D effect she is striving for, such as the bicycle spokes.
For some of her other projects, there are no accompanying instructions and they are much more intricate. She buys the prints and flies solo — and they take much longer to complete.
Maybe we’ll follow one of those projects next. But for now, this project — while simple for Maggie — is a learning experience for me. Trying to describe the intricacies in its creation is a little like depicting the method behind each brush stroke of a painter, perhaps.
And therein lies the challenge of this newsletter for me.
Meanwhile, I hope you all learn something from it and enjoy Maggie’s beautiful creations.
See you next time.